AI image upscaling has become genuinely accessible — free tools now produce results that would have required paid software and significant editing skill just a few years ago. But “free” covers a wide range, and knowing how to get the most out of these tools matters as much as choosing the right one. This guide covers the practical side: what free AI upscaling can and can’t do, how to prepare your images, and how to get consistent results across different types of source material.
What Free AI Upscaling Actually Gives You
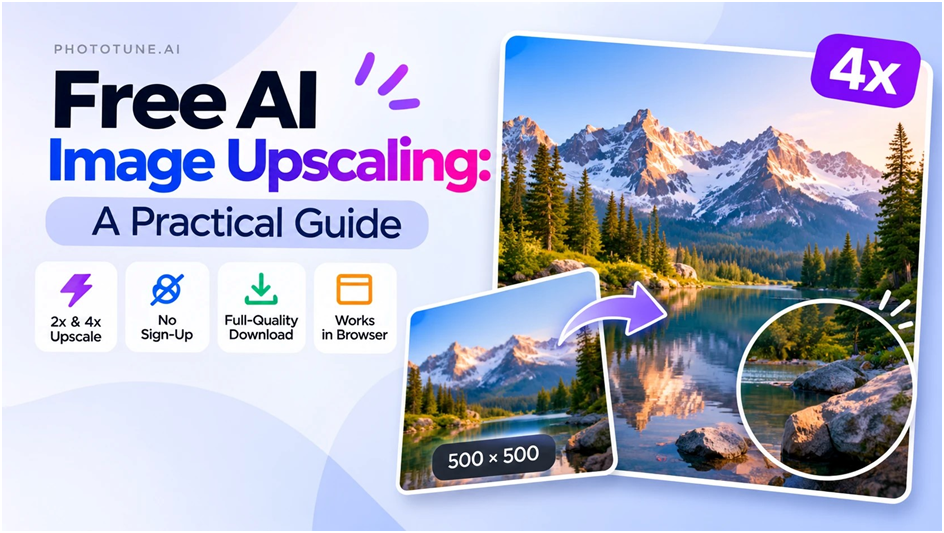
The core capability — uploading an image and receiving a larger version with AI-reconstructed detail — is available without payment or registration on several tools. What tends to vary between free and paid tiers is processing speed, file size limits, and batch processing. For single-image work on standard-sized files, free tools handle the job completely.
What you should expect from a good free AI upscaler:
- 2x and 4x scale factors — the two most practical options for most use cases
- Full-resolution output — the download should reflect the actual upscaled dimensions without compression applied by the tool
- No sign-up required — legitimate free tools don’t gate basic access behind account creation
- Browser-based processing — no software installation, works on any device
- Reasonable file size support — at minimum, images up to several megabytes; most standard photos fall within this range
Preparing Your Image Before Upscaling
The quality of the output depends heavily on the quality of the input. A few preparation steps consistently improve results:



Use the best source available. If you have the same image in multiple formats or quality levels, always start from the one with the most information. A PNG beats a JPEG of the same image because it has no lossy compression. A high-quality JPEG (large file size, minimal compression) beats a heavily compressed version. The AI reconstructs from what it’s given — better input means better reconstruction.
Don’t pre-process unnecessarily. Resizing the image before uploading, or applying sharpening in advance, usually doesn’t help and can introduce artifacts that affect the upscaler’s output. Upload the source image as-is.
Check for JPEG artifacts before uploading. Heavy JPEG compression creates blocky artifacts — grid-like patterns visible at 100% zoom — that the upscaler will work around rather than fix. If the source has significant artifacts, there’s a limit to how clean the output will be. This is a source quality issue, not a tool limitation.
Choosing the Right Scale Factor
| Your Situation | Recommended Scale | Why |
| Image is close to target size, needs a moderate boost | 2x | Less reconstruction needed, consistently clean output |
| Small supplier or stock photo (500–800px) | 4x | Large gap to close; 4x reaches marketplace minimums in one step |
| Heavily cropped image that lost resolution | 4x | Recovers pixel count lost to tight cropping |
| 1080p asset needed at 4K | 2x | Exact match: 1920×1080 → 3840×2160 |
| Phone photo for large-format print (A2+) | 2x | 4000×3000 → 8000×6000, enough for most large prints at 300 DPI |
| Old scan at limited resolution | 4x | Most scanned photos benefit from maximum reconstruction |
Reading the Output: What to Check
After downloading the upscaled image, verify the result before using it. The areas most worth checking:
- Fine texture regions — fabric weave, hair, foliage, product surface detail. These show the clearest difference between AI upscaling and traditional interpolation. If texture looks sharp and defined rather than blurry, the reconstruction worked well.
- Hard edges — lines, text, packaging borders. These should be crisp, not soft or jagged. A good upscaler handles edges cleanly; a poor one introduces halos or blur.
- Smooth gradients — skies, backgrounds, skin. These should transition cleanly without banding or noise introduced by the upscaling process.
- Areas where the watermark or artifact was — if the source had compression artifacts, check whether these regions look natural or whether the AI introduced unusual texture in response to them.
Common Mistakes and How to Avoid Them
A few patterns consistently produce worse-than-expected results:
- Upscaling an already-large image — if the source is already at or above your target dimensions, upscaling adds file size without benefit. Check your target output size before running the tool.
- Using a screenshot as the source — screenshots are typically low-DPI captures of on-screen content. They often have text rendering artifacts and flat color areas that don’t benefit much from AI reconstruction. If you need a higher-resolution version of screen content, go back to the original asset.
- Applying 4x when 2x is enough — a 4x upscale of an already-reasonable image produces a very large file with minimal visible quality improvement over 2x. Match the scale to the actual gap.
- Downloading the preview rather than the full result — some tools show a smaller preview image and require an explicit download step to get the full resolution. Make sure you’re saving the actual output, not the preview.
After Upscaling: File Size and Web Use
Upscaled images are significantly larger in file size than their sources. A 4x upscale produces sixteen times the pixel count — even with standard compression, the output file is much bigger. This matters for web use: large images slow page load times and hurt performance scores.
For web applications, compress the upscaled image after downloading using a tool like Squoosh, TinyPNG, or your CMS’s built-in optimization. The goal is to match the display dimensions as closely as possible — a 2000×2000 image displayed in a 200×200 container is wasteful regardless of its quality.
For print and archiving, keep the full uncompressed output. Print files benefit from maximum available resolution, and archived images shouldn’t be compressed again — every re-compression of a JPEG reduces quality.
The free AI upscaler at phototune.ai/ai-image-upscaler handles all of the use cases described here — no account needed, 2x and 4x scale options, full-resolution output. Upload your image and download the result in seconds.