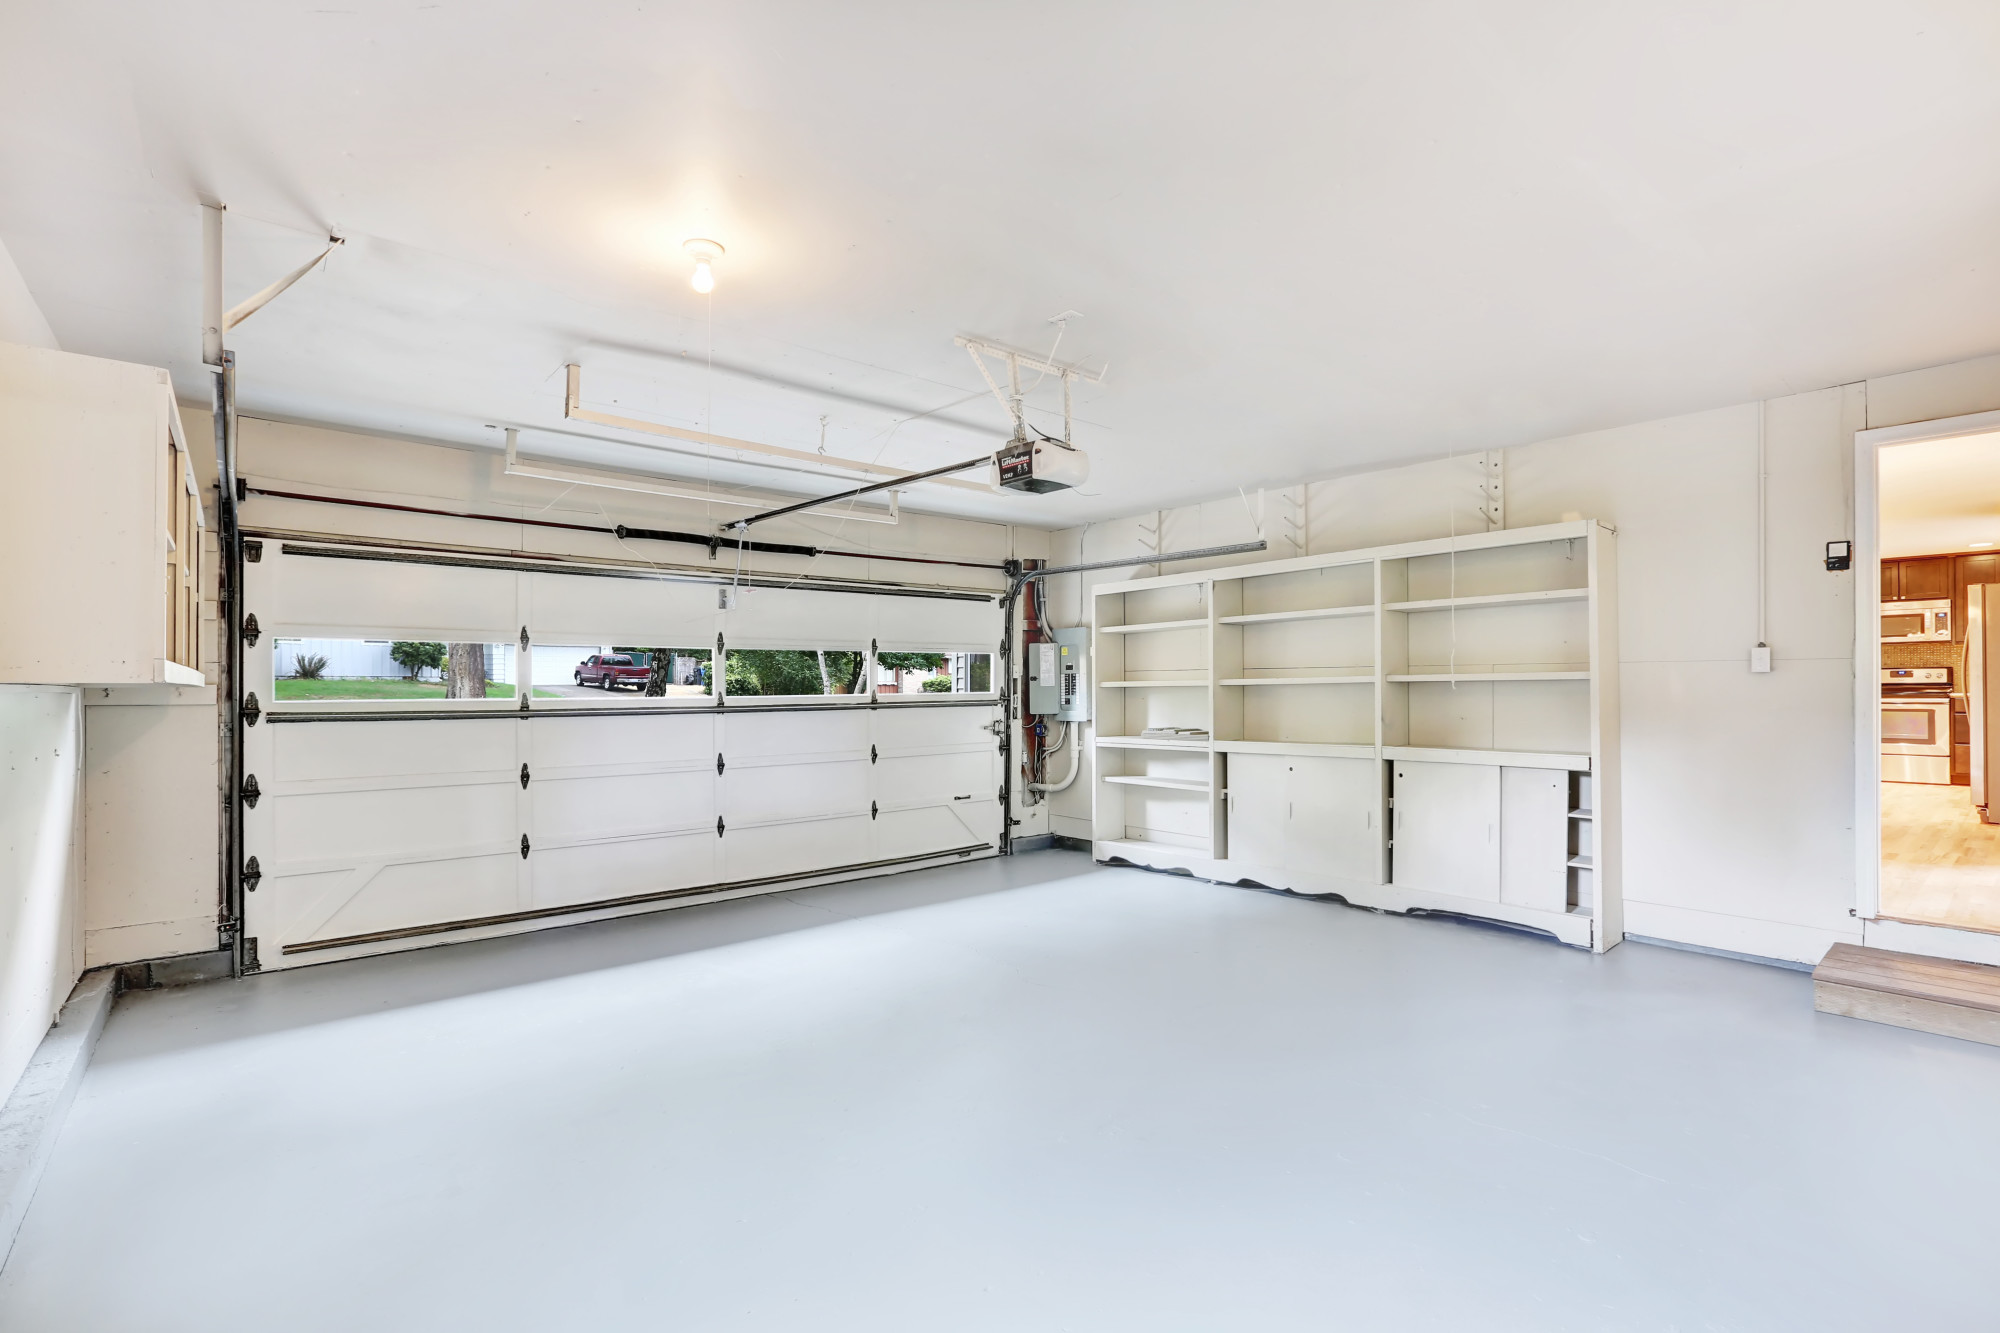
How to Create and Use a Renovated Garage
All-purpose garages aren’t a thing of the past. The renovated garage is even better than the original.
Take, for instance, the concept of a design studio garage. The idea here is to achieve optimal functionality by combining so many elements into a singular space. You’ll have a place for working on just about any project, with ample room for parts, tools, and every car you own.
Are you interested in giving your garage an upgrade? Learn more about what elements you can add and their purpose in helping you make a design decision.
Let’s dig in!
Table of Contents
Plan Your Space
If you’re considering a garage renovation, the first step is to plan your space. Whether you’re looking to add more storage, a home office, or a workshop, you’ll need to consider how you’ll use the space and what you’ll need to make it work for you.
Once you’ve decided on the purpose of your renovated garage, you’ll need to measure the space and plan the layout. If you’re adding new features, such as built-in shelving or a sink, you’ll need to ensure you have enough room to accommodate them.
Once you have a plan, you can start to work on your renovation!
Choose Your Materials
If you’re planning to renovate your garage, one of the first things you need to do is choose the right material. There are a few different options available, and the best choice for you will depend on your budget, needs, and personal preferences.
For example, if you need to store a lot of heavy equipment, you might want to consider concrete flooring. If you’re worried about insulation, you might want to choose metal walls. And if you want a more finished look, you might want to consider drywall.
Once you’ve chosen the right material, you need to figure out how to install it. If you’re not sure, it’s always a good idea to consult with a professional.
They can help you ensure everything is installed correctly and that you don’t make any mistakes that could cause problems later on.
Create Storage and Organization
If you are like most people, your garage probably serves as a catch-all for all the things you don’t have room for in your house. These can make it difficult to find what you need when you need it.
By renovating your garage and creating storage and organization, you can make your life a lot easier. And one way to create storage and organization in your garage is to install shelves. You can buy shelves at most hardware stores or online.
Be sure to measure the available space before purchasing your shelves. Another option is to build your own storage shelves. These can be a great way to customize them to fit your needs.
Once you have shelves installed, you can start to organize your belongings. Create a system that works for you, and that will help you keep track of what you have.
Label everything so you can easily find what you need. And be sure to put things away when you’re done using them. A little bit of effort now can save you a lot of time and frustration later.
Add Finishing Touches
After renovating your garage, it’s important to add finishing touches to make it feel like a complete space. Here are some tips on how to do that:
Add Area Rugs or Floor Mats
If you have a renovated garage, you can add new garage floors or area rugs to make it more comfortable. You can also use resistant garage floor coatings. These will give your garage a fresh, new look while also protecting the floor from wear and tear.
Garage floor coatings are an excellent investment for homeowners who want to protect and enhance their garage floors. They are durable, easy to clean, and come in various colors and textures to suit any style. DIY garage floor coatings may seem like a cost-effective solution, but you should understand how to epoxy a garage floor before approaching. It involves potential risks and requires years of experience and expertise. Hiring a professional garage floor coating company can ensure a high-quality, long-lasting finish with minimal risk and hassle.
Here are the steps to coat your garage floor successfully. First, clean the floor thoroughly with a power washer or hose to remove all dirt, dust, and grease. Then get the floor completely dry before proceeding.
Prime the floor with a concrete primer specifically designed for use with garage floor coatings. Next, apply the first coat of the resistant garage floor coating of your choice with a roller or brush, following the manufacturer’s instructions.
Lastly, allow the first coat to dry completely before applying a second coat. Once the second coat is dry, your garage floor will be protected and look great!
Hang Some Artwork or Decor on the Walls
One way to add some life to your newly renovated garage is by hanging up some artwork or decor on the walls. These can help make the space feel more inviting and homey.
You can choose to hang up classic artwork or go for more modern pieces. Another option is to put up some family photos or even vintage posters. Get creative and have fun with it!
Add Some Task Lighting
Task lighting will help you see what you’re doing when you’re working on projects in your garage. You can buy task lighting fixtures at most home improvement stores.
Another option is to use fluorescent light bulbs in your existing light fixtures. Just be sure to buy bulbs that give off enough light for your working space.
Maintain and Upkeep It
Once the renovation is complete, it is important to maintain and upkeep the space. It means regularly cleaning the space and ensuring it is tidy and free of clutter.
It is also essential to inspect the space for any damage and to make repairs as needed. By taking good care of your renovated garage, you can ensure that it will continue to serve its purpose for years to come.
Knowing How to Create and Use a Renovated Garage Today
If you want to know how to create and use a renovated garage, this article was for you. We just covered everything from what tools and materials you need to how actually to do the work.
By following these tips mentioned above, you will know everything you need to get started on your very own garage renovation. So get started today!
Did you find this article helpful? Check out the rest of our blogs!


