Tips for Capturing Amazing Photos on Hot Air Balloon Flights
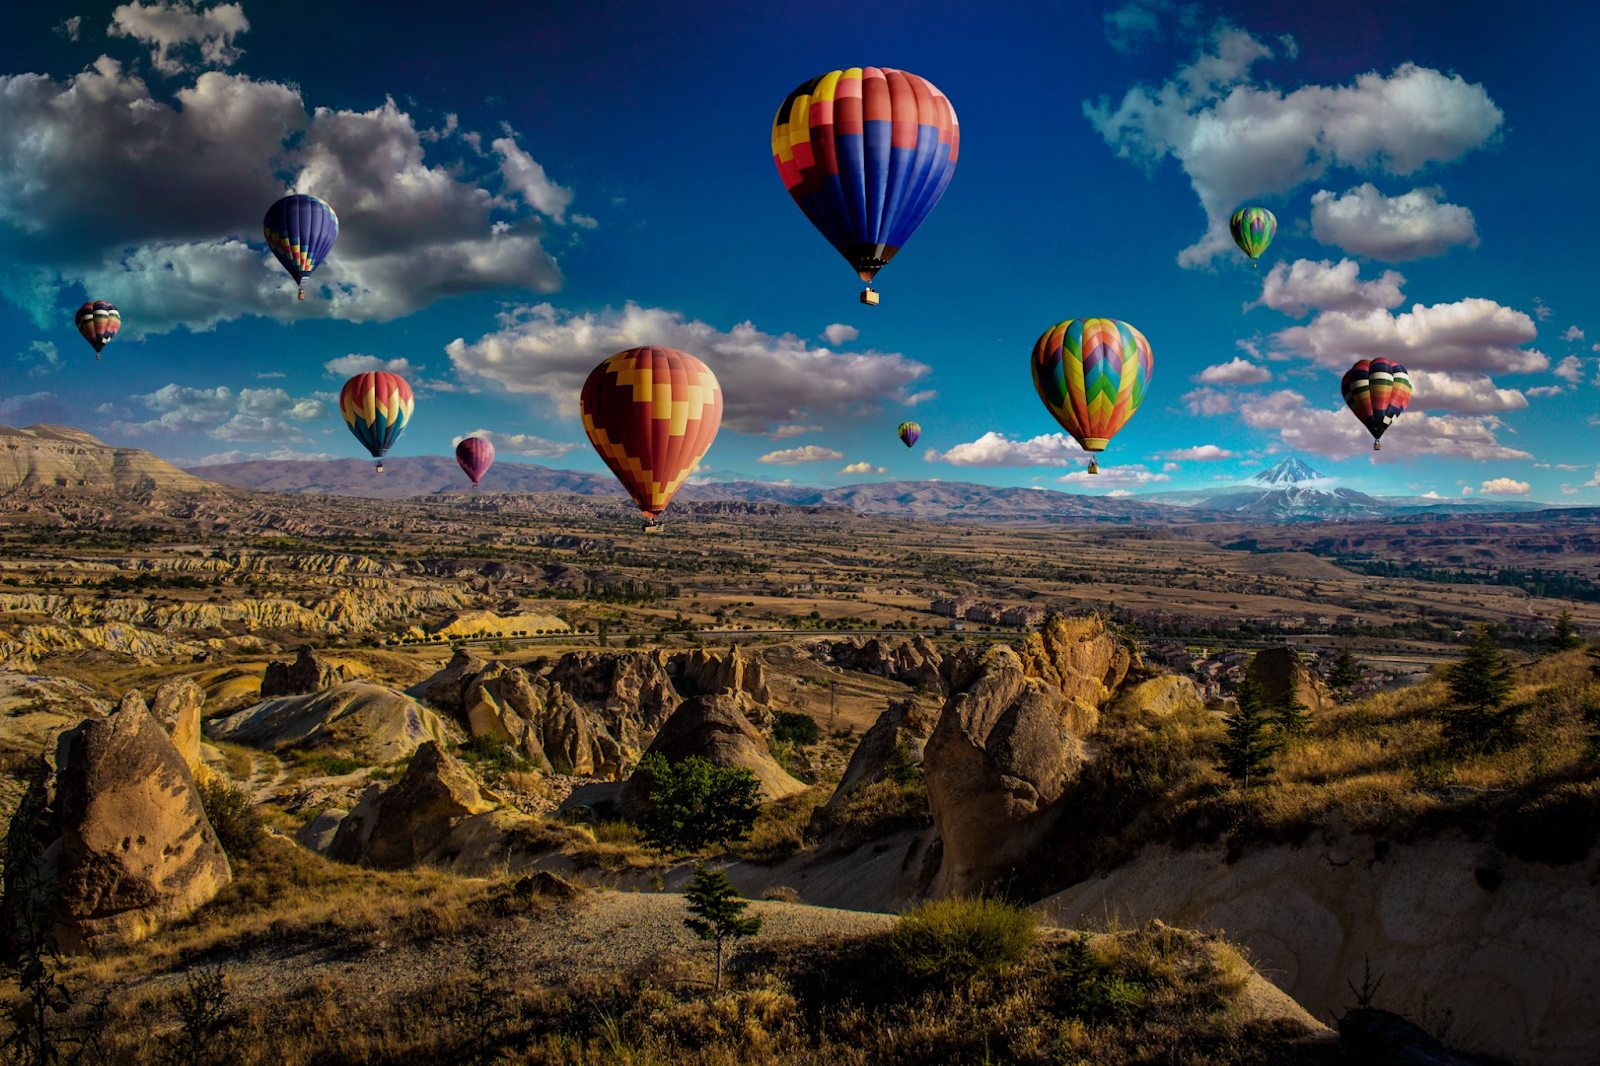
Hot air balloon flights offer an unparalleled opportunity for capturing stunning photographs. The combination of panoramic views, changing light conditions, and unique perspectives makes it a photographer’s dream. However, the nature of hot air ballooning presents its own set of challenges. Here are some essential tips to help you capture amazing photos on your hot air balloon adventure.
Table of Contents
1. Prepare Your Equipment
Essential Gear
- Camera: A DSLR or mirrorless camera with manual settings will give you the most control over your photos. However, a high-quality smartphone can also capture excellent images.
- Lenses: A versatile zoom lens (e.g., 18-135mm) can handle wide landscapes and close-up details. A wide-angle lens (e.g., 10-24mm) is ideal for capturing expansive scenes.
- Spare Batteries and Memory Cards: The cold air at higher altitudes can drain batteries quickly. Bring spares and ensure you have plenty of storage space for your photos.
- Polarizing Filter: This can help reduce glare and enhance the colors of the sky and landscape.
Protective Gear
- Lens Hood: To reduce lens flare from the sun.
- Camera Strap: Ensure your camera is securely fastened to prevent accidental drops.
- Protective Case: For safe transport of your gear to and from the balloon.
2. Understand the Light
Best Time of Day
The best time to ride hot air balloon flights in Geelong is at sunrise or sunset when the winds are calmest and the lighting is most dramatic. These times of day provide soft, warm light that enhances the landscape and adds depth to your photos.
Adjusting to Changing Light
- Golden Hour: The hour after sunrise and before sunset offers the best lighting conditions. The soft, directional light creates long shadows and highlights textures in the landscape.
- Blue Hour: The period just before sunrise and after sunset, when the sky takes on a deep blue hue, can add a magical quality to your photos.
3. Composition Techniques
Rule of Thirds
Two horizontal and two vertical lines should be used to divide your frame into a grid of nine equal portions. To produce a composition that is both balanced and captivating, arrange important pieces along these lines or at their intersections.
Leading Lines
Use natural lines in the landscape, such as rivers, roads, or ridges, to lead the viewer’s eye through the photo and toward the main subject.
Framing
Utilize the balloon’s basket, ropes, or the horizon to frame your shots. This adds context and a sense of place to your images.
Patterns and Textures
Aerial views reveal patterns and textures that aren’t visible from the ground. Look for interesting shapes, repetitions, and contrasts in the landscape.
4. Capture the Atmosphere
Wide Shots
Take wide shots to capture the vastness of the landscape and the balloon’s journey. These photos convey the scale and majesty of the experience.
Close-Ups
Don’t forget to capture close-up shots of the balloon, its occupants, and the equipment. These details add intimacy and variety to your photo set.
Candid Moments
Photograph your fellow passengers and the crew to capture the human element of the adventure. Genuine expressions and interactions can tell a compelling story.
5. Camera Settings
Manual Mode
Shooting in manual mode gives you complete control over your camera settings, allowing you to adjust quickly to changing light conditions.
Shutter Speed
- Fast Shutter: Use a fast shutter speed (1/500s or higher) to freeze motion and avoid blur caused by the balloon’s movement.
- Slow Shutter: For artistic effects, a slower shutter speed (1/60s) can capture the motion blur of the landscape while keeping the balloon sharp.
Aperture
- Wide Aperture (f/2.8 – f/5.6): For shallow depth of field and focus on specific subjects.
- Narrow Aperture (f/8 – f/16): For greater depth of field, keeping both the balloon and landscape in focus.
ISO
To lessen noise, try to keep the ISO as low as possible. In low light, simply increase it as needed to maintain the correct exposure.
6. Post-Processing Tips
Editing Software
To improve your photos, use photo editing programs like Adobe Lightroom or Photoshop. Adjustments to exposure, contrast, saturation, and sharpness can bring out the best in your photos.
Color Correction
Balance the colors to reflect the true atmosphere of the scene. Warm up the tones for sunrise or sunset shots, and adjust the white balance for accurate color representation.
Cropping and Straightening
Crop your images to eliminate any distracting features and to improve composition. Straighten the horizon to ensure your images look professional and polished.
7. Safety First
Secure Your Gear
Always secure your camera and other equipment to prevent accidents. Use wrist or neck straps and avoid leaning too far over the basket.
Follow Instructions
Listen to the pilot’s instructions and prioritize safety over getting the perfect shot. Avoid obstructing the crew or other passengers while taking photos.
Elevate Your Photography with Stunning Hot Air Balloon Shots
Capturing amazing photos during a hot air balloon flight requires preparation, an understanding of light and composition, and attention to safety. By following these tips, you can ensure that you make the most of this unique photographic opportunity, creating stunning images that capture the beauty, excitement, and tranquility of your aerial adventure.
Whether you’re a professional photographer or an enthusiastic amateur, a hot air balloon flight offers a rich canvas for your creativity and a chance to see the world from a breathtaking new perspective.

