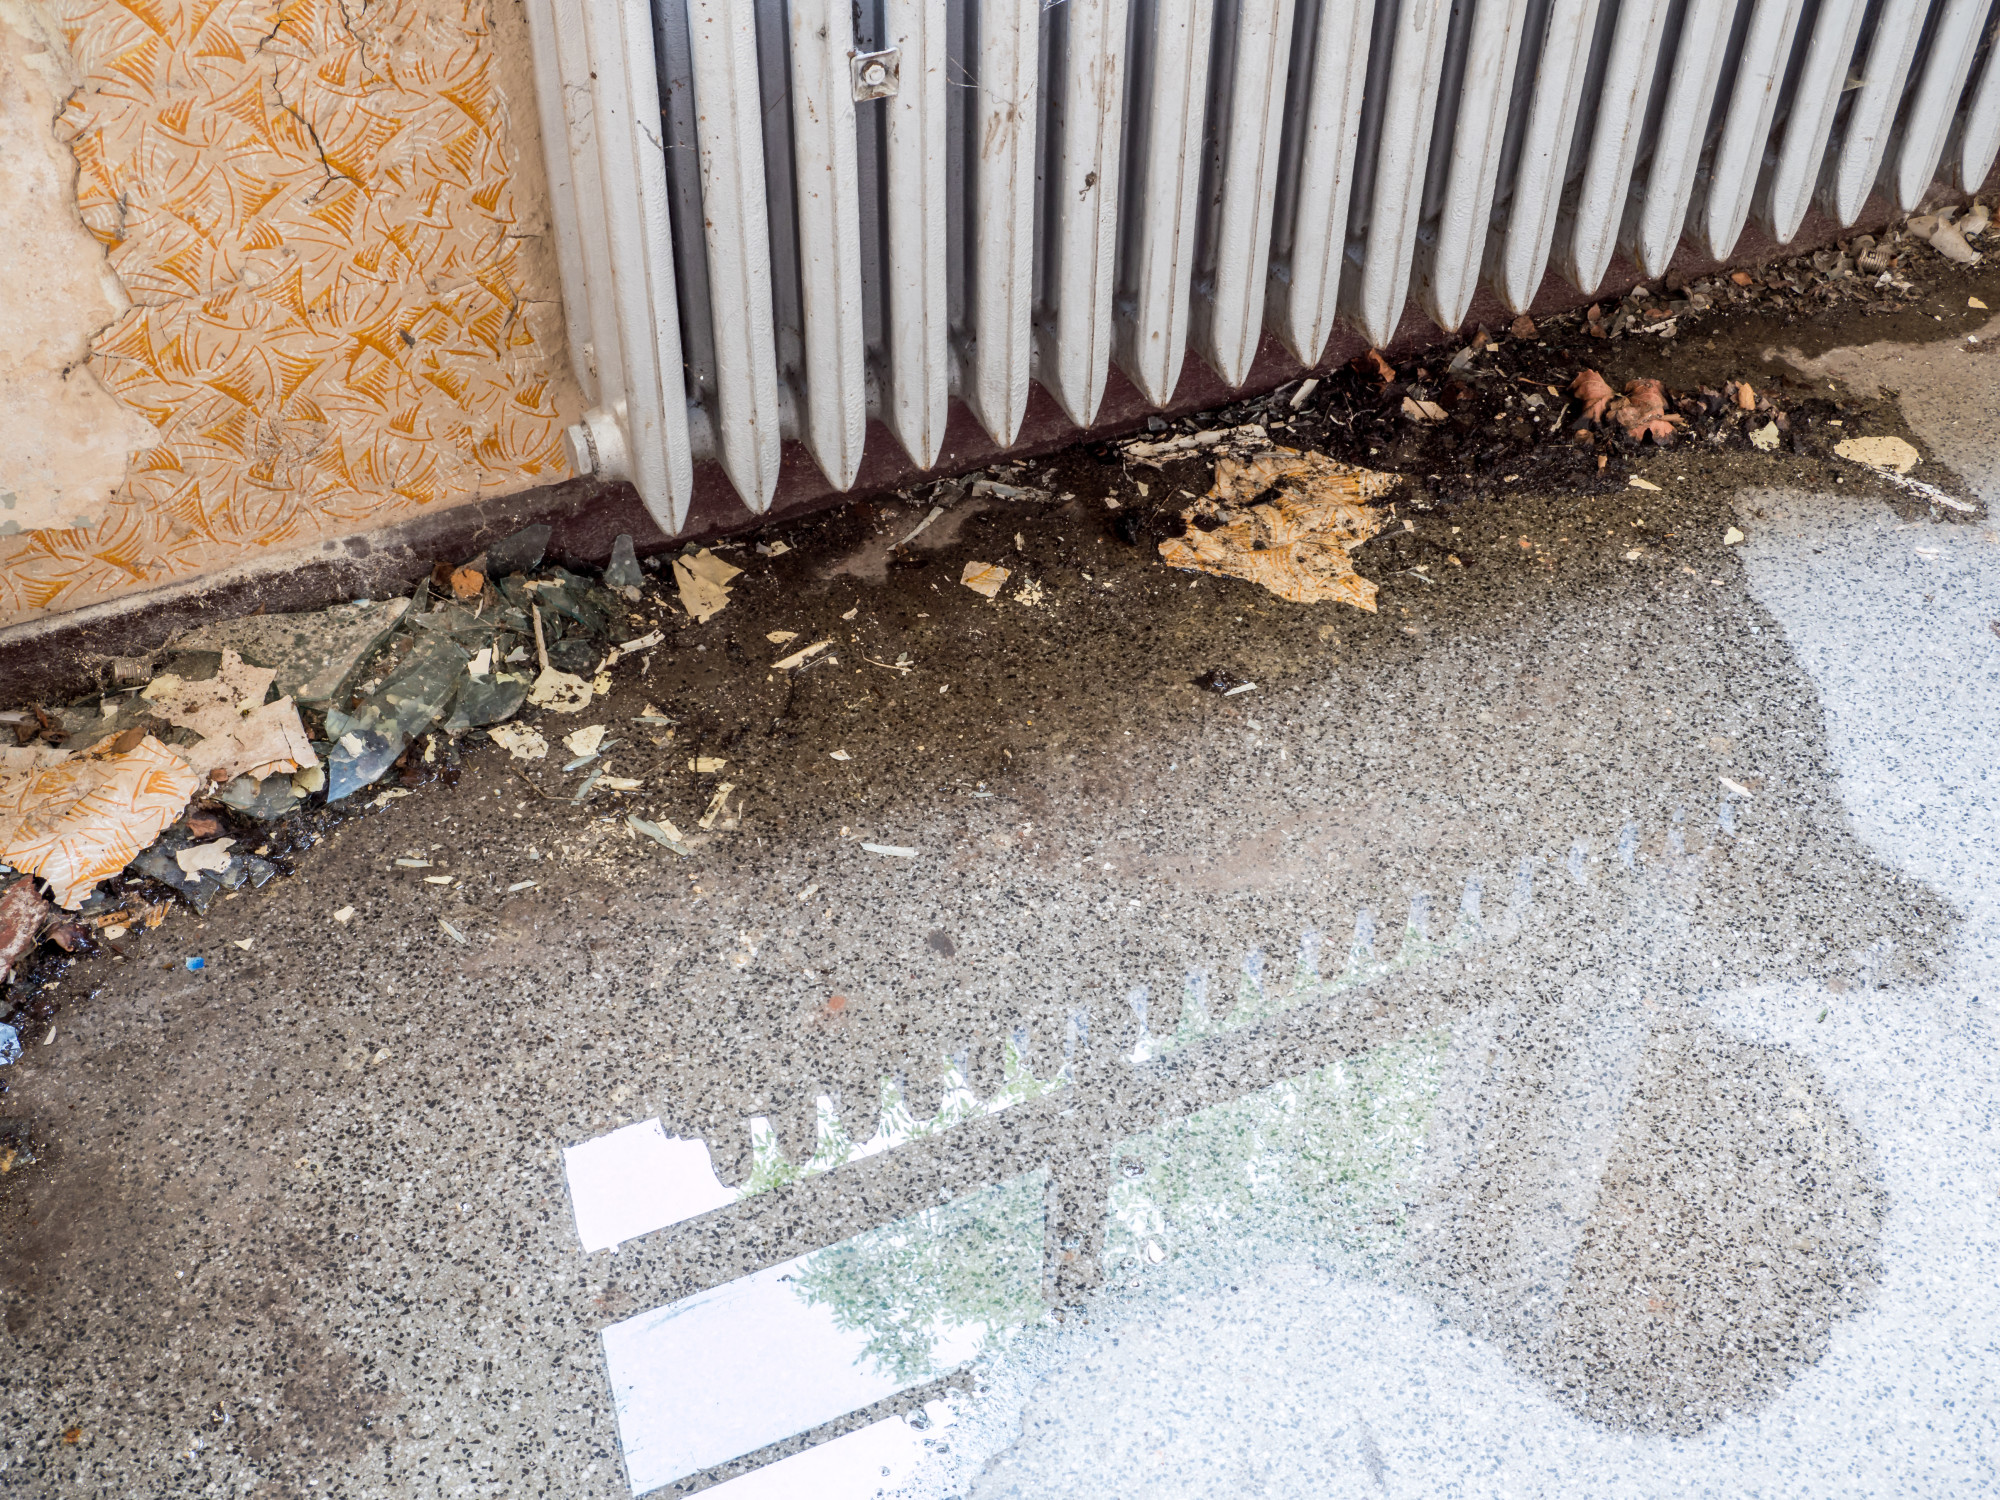
Did you know that insurance agencies have paid out $13 billion in one year to fix homes, structures, and properties damaged from water?
Water damaged wood veneer is a common problem, but it doesn’t have to be permanent.
If your furniture has been damaged by water, don’t worry. You can fix it yourself using this guide.
But don’t worry. Keep reading because in this article we’ll show you how to repair water damaged wood veneer using simple tools and techniques. Follow these steps and your furniture will look like new again.
Table of Contents
Identify the Type of Veneer
One of the first things you need to do is identify the type of veneer that has been damaged. This will determine the best way to proceed with repairing it.
Inspect the Damage
Inspecting the damage is an important step in deciding how to proceed. If the damage is only cosmetic, you may be able to repair it yourself. However, if the damage is more structural, you will need to consult a professional. To inspect the damage, start by looking at the surface of the veneer.
If there are any cracks or chips, you will need to fill them in with putty or epoxy. If the damage is more severe, you may need to replace the damaged pieces entirely.
Clean the Area
The first step in cleaning up veneer damage is to inspect the area and remove any dirt or debris. This will help to prevent further damage and allow you to better assess the extent of the damage. Next, you need to clean the area with a mild soap and water solution. Be sure to rinse the area thoroughly to remove any residue.
Finally, dry the area with a soft cloth or hairdryer set on low. Once the area is clean and dry, you can begin repairing the veneer.
Remove the Damaged Veneer
To remove the damaged veneer, you will need a putty knife and a heat gun. First, use the putty knife to loosen the edge of the veneer. Then, hold the heat gun about six inches from the surface of the veneer and move it back and forth until the veneer is soft. Once the veneer is soft, you can use your fingers to peel it away from the underlying wood.
Apply New Veneer
Applying a new veneer to furniture is a simple process that anyone can do. First, remove the old, damaged veneer with a putty knife. Be careful not to damage the underlying wood. Next, apply a thin layer of wood glue to the surface. Then, place the new veneer onto the surface and press down firmly. Finally, use a utility knife to trim any excess veneer. Your furniture will now look like new!
Finish Up
To finish up, sand the area until it is smooth. Then, apply a stain that matches the rest of the surface. This will ensure that the repair is undetectable. Finally, apply a clear coat to protect the area from future damage.
If you don’t feel comfortably repairing wood veneer yourself, you can always hire a professional restoration company to fix water damaged wood or water damaged furniture for you.
How to Repair Water Damaged Wood Veneer
Repairing water damaged wood veneer may seem daunting, but with the right tools and techniques, it can be a relatively easy process. By following the steps in this post, you should be able to fix your furniture and restore it to its former glory.
Be sure to check out our blog for more tips on how to repair water damaged wood veneer and other types of damage.