iPhone vlogging has exploded in popularity, transforming everyday creators into content powerhouses. With advanced cameras now fitting in your pocket, anyone can shoot stunning video—but there’s one glaring issue that separates amateurs from professionals: shaky, unstable footage that screams “homemade.” No matter how compelling your story or beautiful your location, wobbling clips instantly undermine your credibility and viewer engagement. Enter the tripod, the unsung hero that elevates iPhone content from watchable to truly professional. This comprehensive guide cuts through the noise to help you discover the best tripod for iPhone vlogging success. We’ll explore essential features like portability for creators on the move, seamless smartphone compatibility, and intuitive ease of use that keeps you focused on content rather than equipment. Whether you’re filming daily vlogs, tutorials, product reviews, or travel adventures, the right tripod becomes your silent partner in creating stable, polished videos that captivate audiences. By the end of this guide, you’ll have a clear roadmap to selecting a tripod that matches your unique vlogging style and propels your content to new heights.
Table of Contents
Why Your iPhone Vlog Deserves a Dedicated Tripod
Handheld filming might seem convenient at first, but it comes with serious limitations that hold your content back. The constant micro-movements and shakiness create distracting footage that viewers notice immediately, while arm fatigue sets in quickly during longer takes, forcing you to cut scenes short or compromise your creative vision. You’re also locked into limited angles and positions, unable to appear in front of the camera for genuine connection with your audience. A dedicated tripod for iPhones transforms these constraints into creative opportunities. It delivers rock-solid stability that instantly elevates your production value to professional standards, making even simple shots look intentional and polished. Hands-free operation becomes effortless, essential for tutorial creators demonstrating techniques or product reviewers who need both hands available. You gain consistent framing across multiple takes, ensuring visual continuity that keeps viewers focused on your message rather than jarring camera movements. For vloggers serious about building an audience and standing out in a crowded digital landscape, a quality tripod isn’t just an accessory—it’s a fundamental investment that pays dividends in every frame you capture.
Key Features to Look for in a Vlog Tripod
Portability and Build: Your Travel Tripod Companion
Weight becomes your constant companion when vlogging on location, so prioritizing lightweight construction materials makes all the difference. Aluminum tripods offer excellent durability at reasonable weight, typically ranging from one to three pounds, while carbon fiber options shave off precious ounces for creators who travel frequently or hike to remote shooting locations. Compact folded dimensions matter just as much—look for tripods that collapse to under fifteen inches, fitting easily into backpacks or carry-on luggage without dominating your gear space. The best travel tripods balance portability with stability, featuring legs that extend to comfortable working heights while folding down small enough to grab spontaneously for unexpected content opportunities.

Smartphone Compatibility & Mounting Solutions
Your tripod’s phone mount serves as the critical connection point between equipment and content, so secure grip mechanisms are non-negotiable. Universal clamp-style mounts with rubberized grips accommodate various iPhone models and cases, expanding from standard sizes to larger Pro Max dimensions without requiring adapter swaps. A 360-degree ball head unlocks creative flexibility, allowing smooth transitions between landscape and portrait orientations plus precise angle adjustments for flattering perspectives. Cold shoe mounts integrated into the phone holder or tripod platform extend functionality dramatically, providing attachment points for external microphones that capture crisp audio or compact LED lights that illuminate your subject in challenging conditions. Manufacturers like SmallRig have developed ecosystem approaches where phone mounts integrate seamlessly with their broader range of camera accessories, allowing vloggers to expand their setup as their needs grow.
Versatility in Setup and Functionality
Quick-release plates and intuitive flip locks separate frustrating gear from tools that enhance creativity, letting you mount and adjust your iPhone in seconds rather than fumbling with complicated mechanisms mid-shoot. Multi-functional designs deliver exceptional value—convertible tripods that transform into monopods adapt instantly when you need mobility for walking shots or crowd navigation. Flexible leg designs with bendable joints wrap securely around railings, tree branches, or irregular surfaces, opening up shooting angles impossible with traditional rigid legs. Adjustable center columns with independent leg angles enable everything from ground-level macro perspectives to elevated overhead shots, ensuring your tripod adapts to your creative vision rather than constraining it.
Top Tripod Styles for iPhone Vloggers
The All-Rounder: The Standard Phone Tripod
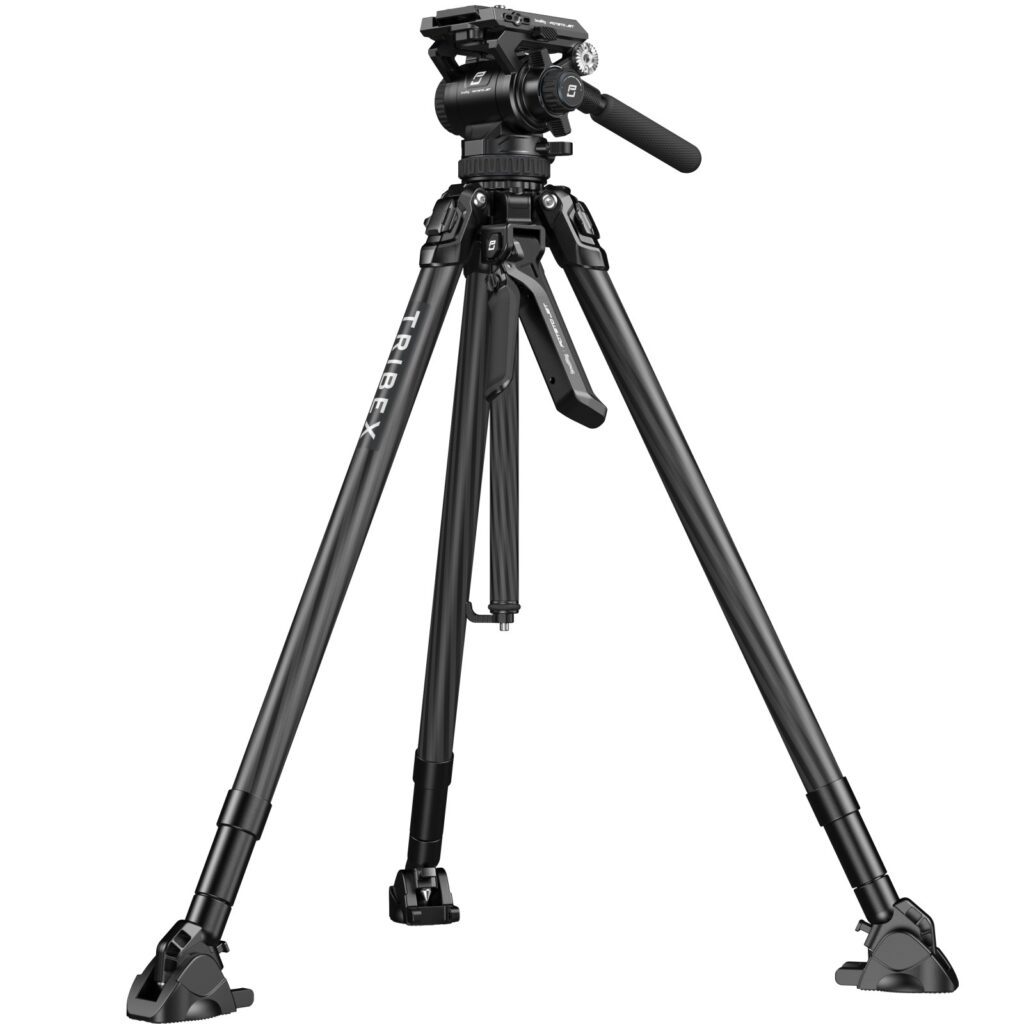
The traditional three-leg tripod remains the gold standard for vloggers prioritizing maximum stability and professional presentation. These classic designs feature adjustable legs that extend to eye level or higher, creating a solid foundation that eliminates shake even in moderate wind conditions. The wide stance distributes weight evenly, making them ideal for indoor studio setups, interview-style vlogs, or any situation where your iPhone stays in one position throughout the shoot. Standard tripods excel at static compositions where framing consistency matters most—think talking-head videos, product demonstrations on tables, or carefully composed background shots that showcase your environment.
For the Creator on the Go: The Ultimate Travel Tripod
Travel-focused tripods redefine portability without sacrificing essential functionality, engineered specifically for vloggers who shoot across multiple locations daily. These compact marvels fold down to the size of a water bottle, often featuring innovative leg-folding mechanisms that reverse upward around the center column to minimize packed length. Despite their diminutive collapsed size, quality travel tripods extend to respectable working heights between four and five feet, providing adequate elevation for most vlogging scenarios. The best models incorporate lightweight carbon fiber or advanced aluminum alloys that keep total weight under two pounds, ensuring they disappear into your everyday bag rather than becoming a burden you leave behind when inspiration strikes unexpectedly.
Dynamic Shooting: Exploring Flexible and Mini Tripods
Flexible tripods with articulated, bendable legs unlock creative angles impossible with rigid designs, wrapping securely around poles, branches, or stair railings to position your iPhone in unconventional spaces. These versatile tools transition seamlessly from traditional tripod stance to improvised mounts, perfect for POV angles, low-ground perspectives, or elevated shots when paired with overhead structures. Mini tabletop tripods cater specifically to desk-based creators, offering stable platforms for overhead product shots, unboxing videos, or compact setups in tight spaces like hotel rooms. Their small footprint and instant deployment make them favorites among tutorial creators and daily vloggers who need reliable stability without the bulk of full-size equipment.
Your Step-by-Step Guide to Choosing the Best Seller Tripod
Step 1: Assess Your Primary Vlogging Style and Environment
Begin by honestly evaluating where and how you create most of your content. Outdoor vloggers exploring cities, hiking trails, or traveling between locations need prioritizing compact travel tripods that won’t weigh down backpacks or attract unwanted attention. Indoor creators filming studio setups, home tutorials, or product reviews can afford slightly heavier standard tripods that maximize stability. Consider whether you film primarily static talking-head content requiring consistent framing, or dynamic walk-and-talk sequences demanding quick repositioning. Your shooting environment and style directly determine which tripod features become essential versus merely nice-to-have.
Step 2: Match Features to Your Needs (A Practical Checklist)
Create a personalized feature checklist based on your Step 1 assessment. Identify your required maximum height—eye level typically needs fifty to sixty inches of extension for flattering angles. Determine your acceptable packed size by measuring your bag’s available space, then set a firm limit. Establish a weight threshold you’ll comfortably carry daily, remembering that every ounce matters over hours of shooting. List specific mounting requirements like cold shoe compatibility for your microphone or ball head rotation for frequent orientation changes. Prioritize your top three non-negotiable features, then rank remaining preferences. This focused approach prevents overwhelming yourself with options while ensuring your final choice genuinely serves your workflow rather than offering unused capabilities that inflate cost.
Step 3: Research and Compare Top-Rated Models
Navigate to trusted retailer platforms and filter for best seller tripod categories specifically designed for smartphones and vlogging applications. Read verified purchaser reviews rather than promotional descriptions, paying special attention to feedback from creators with similar use cases to yours. Create a comparison spreadsheet listing your shortlisted models alongside the checklist criteria from Step 2, scoring each tripod objectively. Watch real-world video reviews demonstrating actual setup speed, stability testing, and long-term durability experiences that reveal strengths and weaknesses invisible in product photos.
Step 4: Consider Your Budget for a Long-Term Investment
Frame your tripod purchase as a multi-year investment rather than a disposable accessory. Quality entry-level vlogging tripods typically range between thirty and seventy dollars, delivering reliable performance without premium material costs. Mid-range options from fifty to one hundred twenty dollars incorporate advanced features like carbon fiber construction or sophisticated ball heads that justify higher prices through enhanced functionality. Avoid the cheapest options that fail within months, but resist overspending on professional-grade features your iPhone vlogging realistically won’t utilize.
Elevate Your iPhone Vlogging with the Right Tripod
The right tripod for iPhones truly becomes a game-changer that separates casual clips from professional vlogs your audience remembers and shares. Stable footage instantly communicates credibility and intention, while hands-free operation unlocks creative possibilities that handheld filming simply cannot match. Throughout this guide, we’ve explored how the ideal vlogging tripod balances three critical factors: portability that travels with you effortlessly, smartphone compatibility that secures your iPhone reliably across various shooting scenarios, and versatility that adapts to your unique creative vision rather than limiting it. The step-by-step selection framework provides a clear path forward—assess your vlogging environment honestly, match features to your actual workflow needs, research top-rated models systematically, and invest appropriately for long-term value. Remember that even modest tripods deliver dramatic improvements over shaky handheld footage, so taking action matters more than waiting for the perfect model. Armed with these insights, you’re ready to select a tripod that becomes your silent partner in creating stable, polished content that captivates viewers and elevates your vlogging presence. Your next level of professional-quality iPhone vlogs starts with this single, strategic investment.
-

-
-

-

-

-